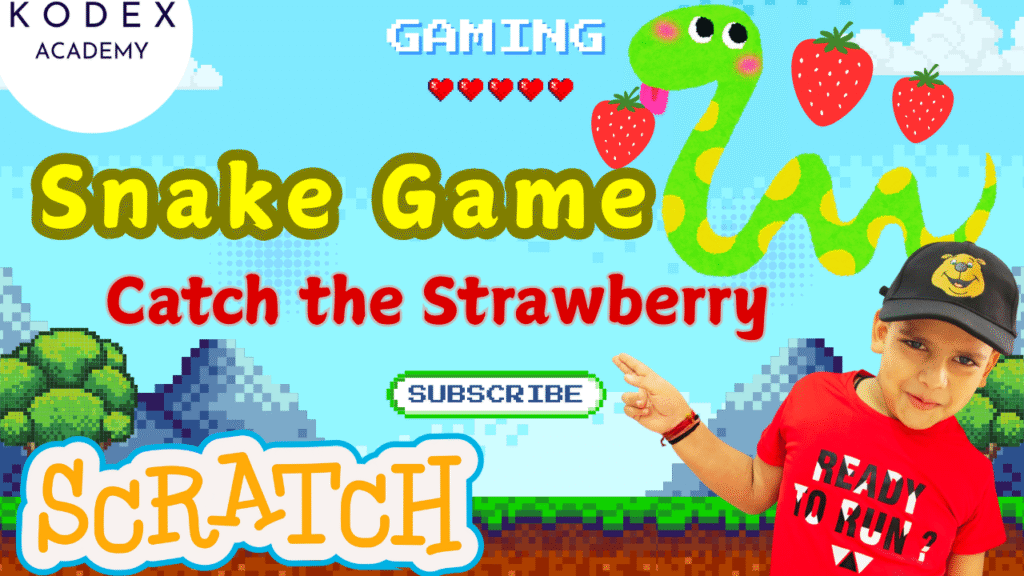
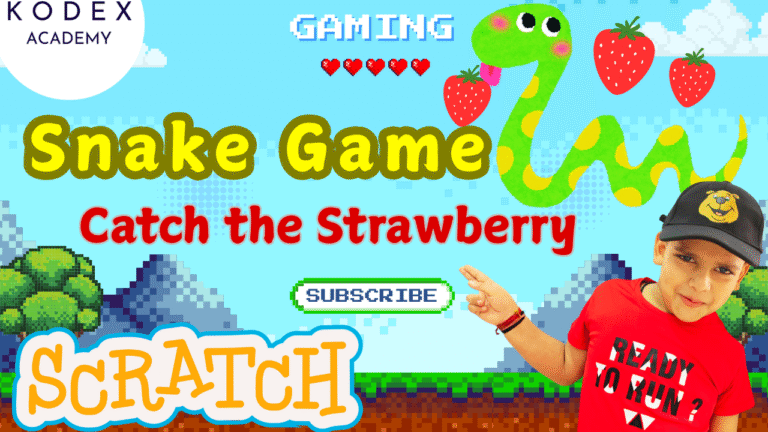
Introduction: Make Snake Game in Scratch
Watch the full tutorial here – How to Make a Game in Scratch | Snake Game in Scratch | Step-by-Step Game Coding | Kodex Academy
Creating games in Scratch is a fun way for beginners and kids to learn programming, logic, creativity, and design. A Snake Game is a classic project that introduces many essential concepts:
- Scratch motion and control blocks
- Using variables (score, speed, clones)
- Event handling (when flag clicked, broadcast messages)
- Sensing (collision / touching)
- Using clones for creating trails or segments
- Adding winners/losers (game over, you win)
- Backdrops, sprites, costumes, sound
In this tutorial, we’ll build a Snake Grid style game in Scratch step by step (very similar to the Kodex Academy example). By doing this, you’ll cover many of the core Scratch building blocks. We will also suggest enhancements to make your game more interesting as you get more comfortable.
Why “Snake Game” is Great for Scratch Beginners
Some of the reasons this project is ideal:
- It teaches Scratch variables tutorial (score, speed, clone count) in action.
- You use motion and control blocks to move the snake around.
- You’ll work with scratch tutorial game paradigms: sprites, backdrops, events.
- It’s simple enough for kids, but has room for enhancements.
- It combines programming & animation (trail of clones, sprite movement).
Game Overview
Here’s what the final game does:
- You control a snake sprite.
- There is a strawberry (food) sprite.
- When the snake catches the strawberry, your score increases, and the speed of the snake increases.
- If the snake touches the screen edge, game over.
- If the score reaches a certain number (e.g. 5), you win.
- There are “You Win” and “Game Over” sprites or backdrops that appear when those conditions are met.
- There is background music/sound effect (“Dance Magic” in the example).
How to Make a Snake Game in Scratch: Step-by-Step Game Coding
Step 1: Start a New Project & Setup Backdrop & Sprites
- New Project: In Scratch, click Create to start a fresh project.
- Delete Default Sprite: Remove the cat unless you want to customize it.
- Backdrop: Choose a backdrop or paint your own. It could be a simple grid or plain color. Keep it clean so collisions and edges are visible.
- Snake Sprite (Head):
- Either pick a sprite or paint one. A simple shape works (square or circle).
- Name it “Snake” or “Head”.
- Set its size appropriately (not too large so it can move freely).
- Food Sprite:
- Create or pick a sprite for food (e.g. strawberry, apple).
- Name it “Food” or “Strawberry”.
- Win / Game Over Sprites:
- Create two new sprites (or backdrops), one saying “You Win!”, one saying “Game Over”.
- Design their costumes/text styles, colors.
- Initially hide them at start.
Step 2: Create Variables
Make these variables (for all sprites):
Score— to track how many food items eaten.Speed— to control how fast the snake moves.- (Optional)
CloneCountor justClone— if using clones to produce tail or trail effects. - (Optional for more complex)
HighScore,Lives, etc.
Step 3: Snake Movement Logic (Motion & Control Blocks)
This handles moving the snake head via arrow keys, and continuous movement.
Script in Snake Sprite:
when green flag clicked
go to x: (0) y: (0)
set [Speed v] to (4)
set [Score v] to (0)

forever
    move (Speed) steps
    if <key [up arrow] pressed?> then
        point in direction (0)
    end
    if <key [down arrow] pressed?> then
        point in direction (180)
    end
    if <key [right arrow] pressed?> then
        point in direction (90)
    end
    if <key [left arrow] pressed?> then
        point in direction (-90)
    end
end
when green flag clickedstarts the game.foreverloop makes the motion continuously happen.move (Speed) stepsmoves the snake.- Arrow‑key pressed sensing blocks change the direction.
Step 4: Food Behaviour
Make the food appear randomly, and when the snake touches it, perform actions.
Script in Food Sprite:
when green flag clicked
go to random position

forever
    if <touching [Snake v]?> then
        change [Score v] by (1)
        change [Speed v] by (0.2)   // optional: faster over time
        go to random position
        // Optional: wait (0.1) seconds
    end
end
go to random positionfrom the Motion category places the food somewhere on the stage.- The
touching [Snake]from Sensing detects when snake eats the food. - Update variables as needed (score, speed).
Step 5: Win and Game Over Conditions
Game Over (if snake hits edge):
In the Snake sprite script:
when green flag clicked
forever
    if <touching edge?> then
        broadcast [GameOver v]
        stop [all]
    end
end
Win condition (if score reaches certain number):
when green flag clicked
forever
    if <(Score) = (5)> then
        broadcast [YouWin v]
        stop [all]
    end
end- You decide the score to win (e.g. 5, 10, etc.).
broadcastlets other sprites know what happened (Game Over or You Win).
Step 6: Show / Hide Win & Game Over Sprites
In the “Game Over” sprite:
when green flag clicked
hide

when I receive [GameOver v]
show
go to front layer
In the “You Win” sprite:
when green flag clicked
hide

when I receive [YouWin v]
show
go to front layerhideat start ensures they are invisible during gameplay.showon broadcast displays the correct ending.
Step 7: Optional Trail / Tail or Clone Effects
To make snake leave a trail (which visually approximates a tail), or make clones follow the head:
In Snake sprite:
when green flag clicked
forever
    create clone of myself
end

when I start as clone
wait (0.1) seconds
delete this clone- The clones are small copies of the snake head; each clone lasts briefly then disappears.
- The delay (wait) controls the length/thickness/distance of the trail.
For more advanced tail (body segments that persist and follow), you may use lists to keep past positions and clones that follow those positions. (See enhancements below.)
Step 8: Sound / Music
Add audio to make the game more fun:
when green flag clicked
forever
    start sound [Dance Magic v] until done
end- Use any loop or sound from Scratch’s sound library.
- Also, add sound effects when food is eaten, when game ends, etc.
Step 9: Reset / Replay Functionality
Allow players to play again without refreshing:
- Create a “Play Again” or “Restart” sprite (a button).
- That sprite is hidden at start.
Script in Restart Button Sprite:
when green flag clicked
hide

when I receive [GameOver v]
show
go to front layer

when I receive [YouWin v]
show
go to front layer

when this sprite clicked
broadcast [ResetGame v]
hide- When clicked, you broadcast
ResetGamewhich is handled in Snake, Food, etc., to reset variables, positions, hide game over/win sprites.
Reset handling (in Snake / Food sprites):
when I receive [ResetGame v]
// Reset positions
go to x: (0) y: (0)
// Reset variables
set [Score v] to (0)
set [Speed v] to (4)
hide [GameOver sprite]
hide [YouWin sprite]
// Reset food
// etc.
Enhancements & Extra Features
Once you’ve got the basic game working, here are some advanced enhancements you can try:
- Snake Tail Body / Growable Tail
Use lists to store the x, y positions of the head as it moves. Then make body segment clones follow those positions (lag‑behind). When food is eaten, increase tail length. - Self‑Collision Detection
Check if the head is touching any of its body clones or touching a color used by its body. If yes → Game Over. - Wrap‑around Edges
Instead of “Game Over” when touching edges, let the snake wrap around (appear on opposite side). Useif x > boundary then set x to −boundary, etc. - Multiple Food Types / Special Items
For example:- Food that gives extra points.
- Food that slows you down or speeds you up.
- Poisonous food that subtracts points or gives penalty.
- Difficulty Levels
Let the player choose Easy / Medium / Hard which affects starting Speed, or how fast speed increases, or number of food items required to win. - High Score Saving
Use a variableHighScoreto remember best score achieved. Use it to compare at game over, then display. - Visual & Costume Effects
- Change snake head’s costume direction depending on movement.
- Color trails or shaders via color effect.
- Flashing or scaling effects on Game Over / Win.
- Sound Effects for Events
- Eat sound when food is collected.
- Game Over sound.
- Win sound.
- Timer / Survival Mode
Instead of scoring to win, see how long you can survive.
Common Pitfalls & Debugging Tips
- Snake moving backwards: ensure you’re not letting the snake instantly reverse direction (so if going up, pressing down shouldn’t immediately work). You might need to guard in code (if current direction ≠ opposite).
- Clones causing lag: too many clones or small wait time can slow Scratch. Increase wait or limit clone creation.
- Food appears on snake/tail: randomness might place food where the snake is; you can test after positioning if it’s touching snake and reposition until it’s not.
- Game doesn’t reset properly: ensure all variables are reset, sprites hidden/shown appropriately.
- Collision detection of tail: if using clones or body segments, ensure head detects touching body segments before you move the head, else it immediately crashes.
Conclusion: How to Make a Game in Scratch
Creating a Snake Game in Scratch is a fantastic project for beginners, kids, and budding game developers. It introduces essential programming concepts like:
- Variables (Score, Speed, etc.)
- Motion and Control blocks
- Events and Broadcasting
- Sensing and Collision detection
- Cloning and basic AI behavior
By following this step-by-step guide — and optionally enhancing it with features like growing tails, speed boosts, music, or wrap-around edges — you not only build a fun game, but also gain solid problem-solving skills and confidence in using Scratch for game development.
Call to Action
- Don’t forget to check out the full video tutorial: How to Make a Game in Scratch | Snake Game in Scratch | Step-by-Step Game Coding | Kodex Academy
- Like, comment & share the video
- Visit kodexacademy.com
- subscribe to the Kodex Academy YouTube channel for deeper Scratch content.
Happy coding with Kodex Academy! 🚀
Learn More with Kodex Academy
At Kodex Academy, we’re passionate about helping students learn coding in creative ways. This project teaches more than Scratch—it empowers young minds to build tools that work in the real world.
Explore more:
Stay updated with new content, free tutorials, and coding challenges!
- 🌐 Website: https://kodexacademy.com
- 🌐 Website: https://games.kodexacademy.com
- 💬 WhatsApp Channel: Join Now
- 💼 LinkedIn: Kodex Academy
- 📸 Instagram: @kodex_academy
- 𝕏 Twitter: @Kodex_Academy
- 📢 Telegram: Join Our Channel
- 🔗 Patreon: patreon.com/KodexAcademy
Further Reading & Links
- Scratch Wiki Motion Blocks: https://en.scratch-wiki.info/wiki/Motion_Blocks
- Scratch Programming for Beginners: https://scratch.mit.edu/projects/editor
- Scratch Animation Guide: https://en.scratch-wiki.info/wiki/Animating

