Introduction: Why Build a Maze Game in Scratch?
If you’re looking for a Scratch beginner project idea that’s fun, interactive, and educational, then building a maze game in Scratch is the perfect place to start.
This Scratch maze game tutorial is designed to help you learn Scratch by making a game—one that includes movement, levels, collision detection, and even sound effects. Whether you’re a kid, parent, or teacher, it’s a great way to explore coding logic, design skills, and storytelling all in one.
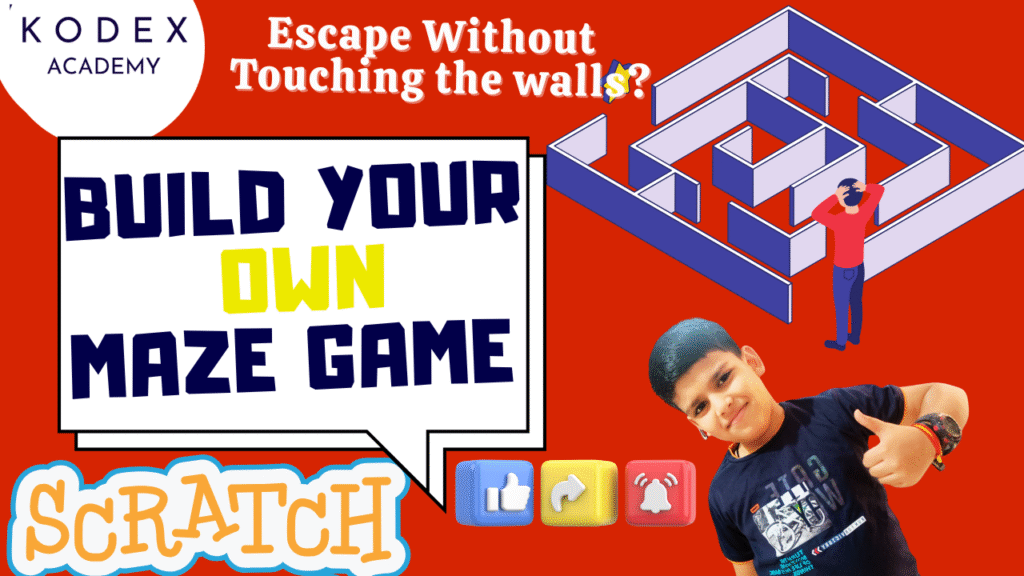
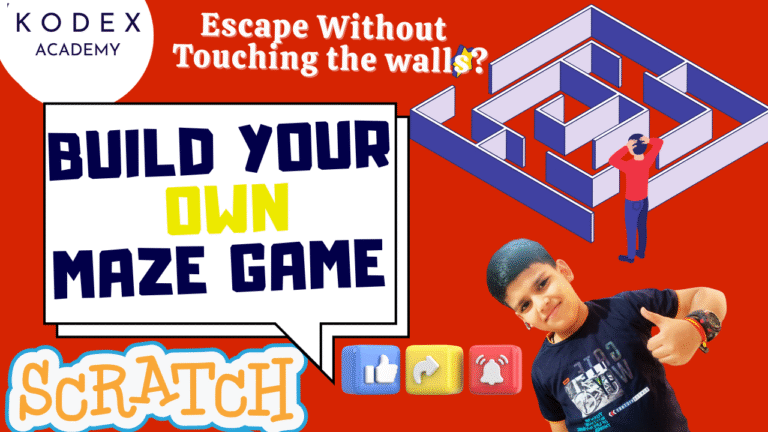
Watch complete tutorial video – How to make a Maze Game in Scratch | Full Game by Omaansh Aggarwal | Kodex Academy
In this step-by-step Scratch game for kids, you’ll discover:
- How to make a maze game in Scratch using simple blocks
- How to create walls, movement, and interactive gameplay
- How to add win/lose conditions with sound and animation
- How to build a maze with Scratch coding across multiple levels
This isn’t just a Scratch coding tutorial for kids—it’s a fun Scratch game project that sparks creativity and builds foundational coding skills. From drawing your first wall to helping a sprite escape the maze, this is the ultimate interactive maze game Scratch experience.
So if you’re searching for a Scratch game for beginners that’s creative, rewarding, and easy to follow—this Scratch maze escape game is the one for you!
Video Demo & Gameplay Summary
In the referenced YouTube video:
- The player controls a sprite called Dot (a dog) that must escape a maze.
- There are multiple mazes (levels). After the first maze, players advance to the second maze, then finally reach “Town” which is the win backdrop.
- If the sprite touches a wall, there is a Game Over condition: the sprite is reset to a start position and a “Game Over” backdrop or text shows.
- Sound effects are added: e.g. buzzing or “ouch” when touching wall, celebratory sound when reaching next level, etc.
- The video shows step‑by‑step: setting up backdrops, drawing maze walls with color, coding movement & collisions, level switching, and sound effects.
Make a Maze Game in Scratch: Step‑by‑Step Coding
Here is how to recreate (and perhaps improve) the maze game, with clarity and code snippets for each stage.
A. Setting up the Stage & Sprite
- Delete the default sprite(s) you don’t need (video deleted the cat).
- Choose your main character sprite (in video, the dog sprite “Dot”). Adjust its size (e.g., 60%) so that it can fit between maze walls.
- Prepare backdrops: Maze 1, Maze 2, and “Town” (or whatever you want as the win screen). Also prepare Game Over screen/text.
B. Designing Maze Walls & Backdrops
- Use the Backdrop editor in Scratch to draw your maze. Use a single color for all wall segments (e.g., blue) so that collision detection via “touching color” is simpler.
- Draw entrance, exit, paths, turns, etc. For multiple mazes: create separate backdrops Maze 1, Maze 2 etc.
- Include visual cues: Start position, exit lines (could use colors like green/pink etc.), Game Over / Win text on separate backdrops.
C. Sprite Movement & Controls
Use Scratch blocks to allow the sprite to move with arrow keys. Example code:
// When green flag clicked
when green flag clicked
forever
    if <key [right arrow] pressed?> then
        point in direction (90)
        move (10) steps
    end
    if <key [left arrow] pressed?> then
        point in direction (-90)
        move (10) steps
    end
    if <key [up arrow] pressed?> then
        point in direction (0)
        move (10) steps
    end
    if <key [down arrow] pressed?> then
        point in direction (180)
        move (10) steps
    end
end
You may adjust steps per move (10 in video) or speed to make it easier/harder.
D. Wall Collision & Game Over
- Use “touching color [wall color]” sensing to detect collision with walls. When that happens:
- Move the sprite back a bit (e.g., move (−10) steps) so it doesn’t pass through wall.
- Switch to Game Over backdrop or show “Game Over” text.
- Reset position to starting point (use
go to x: ___ y: ___). - Possibly stop the game or wait for user click/flag to restart.
Example:
when green flag clicked
forever
    if <touching color [#0000FF] ?> then  // assuming blue walls
        play sound [Lose v] until done
        go to x: (startX) y: (startY)
        switch backdrop to [Game Over v]
        stop [all v]
    end
end
E. Level Progression & Winning
- Use “when green flag clicked” to set initial backdrop (Maze 1) and position sprite.
- Use sensing: if the sprite touches a certain color (exit color, e.g. green or pink), then:
- Switch to next maze backdrop (e.g., Maze 2).
- Reset sprite’s position appropriate for the start of Maze 2.
- Play a “level up” or “connect” sound.
- For final maze, when the exit is reached, switch to the “Town” (win screen) backdrop, maybe show “Hooray! I am back to my town” text, play a “Tada!” sound.
F. Adding Sounds & Effects
- Add sound effects for events:
- Hitting wall → “Lose” sound or buzzing
- Level completion / transition → “Connect” or similar
- Winning the game → “Tada!” or celebratory sound
- Optionally background music.
- Use “play sound [name] until done” or “start sound [name]” depending on how you want overlapping vs blocking behavior.
Complete Scratch Code Blocks
Putting it all together, here is a more complete pseudocode / block layout for the main sprite:
// Main Sprite (Dot)

// Initialization when game starts
when green flag clicked
switch backdrop to [Maze 1 v]
go to x: (startX1) y: (startY1)

// Movement handler
forever
    if <key [right arrow] pressed?> then
        point in direction (90)
        move (10) steps
    end
    if <key [left arrow] pressed?> then
        point in direction (-90)
        move (10) steps
    end
    if <key [up arrow] pressed?> then
        point in direction (0)
        move (10) steps
    end
    if <key [down arrow] pressed?> then
        point in direction (180)
        move (10) steps
    end

    // Wall collision
    if <touching color [WallColor] ?> then
        play sound [Lose v] until done
        move (-10) steps
        go to x: (startX_currentLevel) y: (startY_currentLevel)
        switch backdrop to [Game Over v]
        stop [all v]   // or wait for some event to restart
    end

    // Level transition
    if <touching color [ExitColor_Level1] ?> then
        play sound [Connect v]
        switch backdrop to [Maze 2 v]
        go to x: (startX2) y: (startY2)
    end

    if <touching color [ExitColor_Level2] ?> then
        play sound [Tada v]
        switch backdrop to [Town v]
        go to x: (someFinalX) y: (someFinalY)
    end

end
You could also break out some logic into separate scripts (e.g. separate “when flag clicked” scripts, separate sensing scripts) depending on how you prefer organizing.
Enhancement Features & How to Add Them (with Code)
Once you’ve built the basic version of your Scratch maze game, it’s time to make it more fun, challenging, and interactive! These enhancement features are great for leveling up your project and turning it into a fun Scratch game project worth sharing.
Each enhancement includes what it does, why it helps, and code examples so you can implement it easily in Scratch.
1. Add Lives / Health System
What it does: Gives the player multiple chances before the game ends.
Why add it? Increases challenge and keeps players engaged.
How to add it:
- Create a variable called
Lives - Reduce lives when touching a wall
- Show Game Over when
Lives = 0
Code:
when green flag clicked
set [Lives v] to [3]
go to [Start position]

forever
    if <touching color [WallColor]> then
        change [Lives v] by (-1)
        play sound [buzz v]
        go to [Start position]
        wait (0.5) secs
        if <(Lives) = [0]> then
            switch backdrop to [Game Over v]
            stop [all]
        end
    end
end
2. Add a Timer
What it does: Limits how long the player has to finish the maze.
Why add it? Adds urgency and makes the game more exciting.
How to add it:
- Use the built-in
timerblock or create your own variable.
Code:
when green flag clicked
reset timer

forever
    if <(timer) > [60]> then  // 60 seconds limit
        switch backdrop to [Game Over v]
        stop [all]
    end
end
Optional: Show timer using a “say” block or on-screen variable.
3. Add Collectibles (Coins, Keys)
What it does: Adds items for the player to collect.
Why add it? Increases interactivity and introduces scoring.
How to add it:
- Create a new sprite (e.g. coin)
- Add a
Scorevariable - Use
hideafter collecting
Code (for the collectible sprite):
when green flag clicked
show
go to [some position]

forever
    if <touching [Dot v]> then
        change [Score v] by (1)
        play sound [pop v]
        hide
    end
end
4. Add More Levels
What it does: Adds new mazes for players to complete.
Why add it? Makes your interactive maze game Scratch more exciting.
How to add it:
- Duplicate backdrops with new maze designs
- Use “touching color” or “reaching point” to switch levels
Code:
// Level 1 to Level 2
if <touching color [Green]> then
    switch backdrop to [Maze 2 v]
    go to [startX2, startY2]
    play sound [connect v]
5. Add Enemies or Moving Obstacles
What it does: Adds hazards that move and must be avoided.
Why add it? Makes the maze game more dynamic.
How to add it:
- Create a new sprite (e.g. ghost)
- Use motion blocks to move the enemy
- Detect collisions with the player
Code (for enemy sprite):
when green flag clicked
forever
    glide (1) secs to x: (random position) y: (random position)
end
Code (for player):
if <touching [Enemy v]> then
    switch backdrop to [Game Over v]
    stop [all]
6. Add Win Animation + Sound
What it does: Makes winning more satisfying.
Why add it? Better user experience = more engagement.
How to add it:
- Add a “Tada!” sound
- Use
sayblock or broadcast a custom animation
Code:
if <touching color [ExitColor]> then
    play sound [tada v]
    switch backdrop to [Town v]
    say [Hooray! I’m back in my town!] for (2) secs
    stop [all]
Common Scenarios & Troubleshooting (with Solutions)
When creating your Scratch maze game, you might run into a few common issues. Don’t worry — even pros do! Troubleshooting these scenarios is an important part of learning how to build games and learn Scratch by making a game.
Below are the most frequent problems beginners face when following a Scratch maze game tutorial, and how to fix them step by step.
1. Sprite Gets Stuck Inside the Wall
Scenario:
When your sprite touches a wall, it keeps bouncing or gets stuck inside and can’t move out.
Cause:
You’re using move 10 steps and then checking collision, which causes the sprite to overlap with the wall.
Fix:
Instead of moving first, check for collision after the move and move it back if touching the wall.
Better Code:
when green flag clicked
forever
    if <key [right arrow v] pressed> then
        move (5) steps
        if <touching color [WallColor]> then
            move (-5) steps
        end
    end
Repeat this logic for all four directions.
2. Level Not Switching When Reaching the Exit
Scenario:
You touch the green/pink exit block, but the level doesn’t change.
Cause:
The “touching color” block might be looking for the wrong color or not detecting it.
Fixes:
- Use the eyedropper tool to select the exact color.
- Make sure the exit block isn’t covered or blocked by another sprite.
- Add a brief
waitafter switching backdrops.
Improved Code:
if <touching color [#00FF00]> then
    switch backdrop to [Maze 2 v]
    go to x: [startX2] y: [startY2]
    wait (0.3) secs
3. Movement Controls Not Working Properly
Scenario:
Pressing arrow keys moves the sprite in the wrong direction or rotates oddly.
Cause:
Direction isn’t locked, or sprite rotates unexpectedly due to default rotation settings.
Fix:
- Set rotation style to left-right.
- Ensure you use
point in directionbefore moving.
Code:
when green flag clicked
set rotation style [left-right v]

forever
    if <key [left arrow v] pressed> then
        point in direction (-90)
        move (5) steps
        if <touching color [WallColor]> then
            move (-5) steps
        end
    end
4. Game Over Doesn’t Trigger
Scenario:
Even when the sprite touches the wall or an enemy, the Game Over screen doesn’t appear.
Cause:
- Collision color might not match
- Backdrop name may be incorrect
- The script might be missing
stop all
Fix:
- Double-check wall color using the eyedropper
- Ensure the backdrop name matches the switch block exactly
- Add
stop allafter Game Over
Code Snippet:
if <touching color [#0000FF]> then
    switch backdrop to [Game Over v]
    play sound [Lose v]
    stop [all]
5. Sound Effects Not Playing
Scenario:
You added sound effects, but they’re not playing during gameplay.
Cause:
- Sound block may be placed in the wrong part of the code
- Sound not loaded properly in the Sounds tab
Fix:
- Confirm that sound is added in the Sounds tab
- Use
start sound [name]instead ofplay sound until doneif you want overlapping sounds
Code:
if <touching color [WallColor]> then
    start sound [buzz v]
    move (-5) steps
6. Maze Walls Not Detecting Collision
Scenario:
The sprite moves through walls instead of stopping.
Cause:
- Wall color may be wrong or too thin to detect properly
Fix:
- Use thicker lines for walls (3–6 px)
- Always use solid, non-gradient colors
- Ensure there are no gaps in the maze
7. Sprite “Falls Off” or Disappears
Scenario:
Your sprite disappears from the screen after switching levels.
Cause:
You didn’t reset the sprite’s position for each level.
Fix:
Set the sprite’s X and Y position immediately after switching backdrops.
Code:
switch backdrop to [Maze 2 v]
go to x: [0] y: [140]
Final Tip: Always Use Clear Names
Name your:
- Backdrops (e.g.,
Maze 1,Maze 2,Town,Game Over) - Variables (e.g.,
Score,Lives,Timer) - Sprites (e.g.,
Dot,Enemy,Coin,ExitBlock)
This makes your project cleaner and easier to debug!
Conclusion
Building a maze game in Scratch is not only fun and creative but also a fantastic way to learn the fundamentals of coding. Whether you’re a complete beginner, a parent guiding your child, or a teacher looking for a class project, this Scratch game for beginners teaches key programming concepts like loops, conditions, motion, and event handling — all through an engaging hands-on experience.
In this Scratch maze game tutorial, you learned:
- ✅ How to make a maze game in Scratch step by step
- ✅ How to use color detection for walls and exits
- ✅ How to add sound effects, animations, levels, and logic
- ✅ How to enhance your project with timers, scoring, enemies, and more
This interactive maze game Scratch project can be endlessly customized — you can build more levels, add new sprites, create your own story, and share your game with friends or on the Scratch website.
It’s the perfect Scratch beginner project idea to explore creativity, improve logical thinking, and start your journey into coding with fun and confidence.
Call to Action
- Don’t forget to check out the full video tutorial: How to make a Maze Game in Scratch | Full Game by Omaansh Aggarwal | Kodex Academy
- Like, comment & share the video
- Visit kodexacademy.com
- subscribe to the Kodex Academy YouTube channel for deeper Scratch content.
Happy coding with Kodex Academy! 🚀
Learn More with Kodex Academy
At Kodex Academy, we’re passionate about helping students learn coding in creative ways. This project teaches more than Scratch—it empowers young minds to build tools that work in the real world.
Explore more:
Stay updated with new content, free tutorials, and coding challenges!
- 🌐 Website: https://kodexacademy.com
- 🌐 Website: https://games.kodexacademy.com
- 💬 WhatsApp Channel: Join Now
- 💼 LinkedIn: Kodex Academy
- 📸 Instagram: @kodex_academy
- 𝕏 Twitter: @Kodex_Academy
- 📢 Telegram: Join Our Channel
- 🔗 Patreon: patreon.com/KodexAcademy
Further Reading & Links
- Scratch Wiki Motion Blocks: https://en.scratch-wiki.info/wiki/Motion_Blocks
- Scratch Programming for Beginners: https://scratch.mit.edu/projects/editor
- Scratch Animation Guide: https://en.scratch-wiki.info/wiki/Animating

