Introduction: Why Create a Scratch Shooting Star Trail?
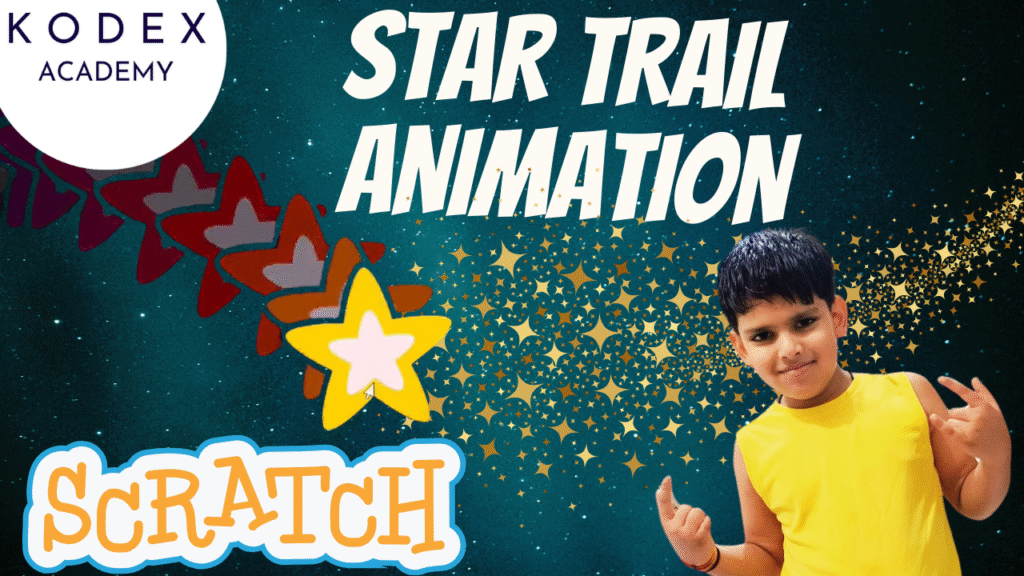
Welcome to your ultimate guide on how to make a star trail animation in Scratch! Whether you’re a budding coder, teacher, or YouTube creator like Omaansh Aggarwal, learning Scratch basics, mastering the Scratch pen extension, and building your first Scratch shooting star animation is a fun and rewarding journey.
In this detailed Scratch tutorial, you’ll discover how to combine block programming logic, Scratch coding techniques, and creative flair to create animations in Scratch. By the end, you’ll have a complete Scratch project—a mesmerizing, interactive star trail effect that follows your mouse pointer across the stage, perfect for use in Scratch game ideas or animation portfolios.
What You’ll Learn
- How to set up your sprites and stage for a Scratch star animation
- Using the Pen extension in Scratch to draw dynamic trails
- Control flow using “when flag clicked” and loops
- The magic of the stamp block and ghost effects
- Animating sprites toward the mouse pointer
- Polishing, optimizations, and creative variations
- How this project fits into Scratch project ideas, Scratch game building, and block programming fundamentals
Why Star Trail Animation Project Shines for Beginners
- Visual Feedback – Students immediately see dramatic effects.
- Introduction to Extensions – Learn how to use extra tools like Pen.
- Block Programming Fundamentals – Encourage loops, events, and control flow.
- Easy to expand into projects, tutorials, or full game builds.
It checks essential boxes for Scratch project idea, Scratch trail effect tutorial, Scratch mouse pointer animation, and foundational Scratch coding principles.
Scratch Coding – Make a Star Trail Animation
Before we begin, open the Scratch editor at scratch.mit.edu. If you’re new to Scratch, it’s a block-based programming platform designed for kids and beginners. We’re going to use it to create animations in Scratch with very little code!
👉 You can also watch how Omaansh sets it up in the video: Watch from the beginning
Step 1: Setting the Scene – Preparing Your Sprite and Stage
We begin our Scratch tutorial by deleting the default cat sprite and selecting a new one. This customization is fundamental to any Scratch project idea.
- Click on the Scratch cat sprite and delete it.
- Click the “Choose a Sprite” button and explore the library.
- For a star trail effect, choose a star sprite. Of course, you could use a ball, balloon, or bat if you prefer—a great exercise in Scratch sprite animation customization.
Once chosen, scale your sprite for visibility:
- Select the sprite, click “size,” and type 200.
- Position it in the middle of the stage (go to X: 0, Y: 0) for even coverage.
This ensures clarity, readiness for applying the Scratch pen extension, and ideal placement for your Scratch animation.
Step 2: Enable the Scratch Pen Extension
To draw dynamic trails, we need the Pen extension in Scratch. It allows sprites to leave permanent marks—akin to a paintbrush trailing behind every movement.
How to Add Pen Extension:
- Click “Add Extension” (bottom-left corner).
- Select “Pen” from the list.
- A new Purple “Pen” category appears in your blocks palette.
These blocks let you draw with your sprite, which is perfect for this Scratch animation.
📺 Want to see how it’s done?
▶️ Jump to Pen Extension Setup in the video
Pen features essential for our Scratch trail effect tutorial:
- erase all resets the stage.
- stamp leaves an imprint of the sprite.
- set pen color, change color effect, set ghost effect, etc., enable animation flourish.
Step 3: Build the Core Scratch Coding Logic
Let’s dive into Scratch coding to craft your star-trail animation. Use block logic to create responsive movement and visual flair.
See this logic in action in the video
Core Game Flow:
3.1 Clear the Stage
when flag clicked
erase all
This ensures no previous trails remain.
3.2 Create a Forever Loop
forever
  go to mouse-pointer
  stamp
  change color effect by 7
end- go to mouse-pointer makes your star follow the mouse.
- stamp leaves the sprite image behind.
- change color effect by 7 adds psychedelic color shifts.
With this loop, you’re stamping your star’s position frame after frame, generating the Scratch shooting star animation.
Step 4: Add a Fade-Out Ghost Effect
To prevent the screen from being overwhelmed with color and clutter, we introduce a fading trail using a second sprite.
Omaansh demonstrates this technique here
4.1 Create a Full-Screen Black Sprite
- Paint a backdrop-coloured rectangle or create a new black sprite sized to cover the stage.
- This acts as a dynamic background that fades old stamps gradually.
4.2 Code for Fading Effect:
when flag clicked
go to back layer
set size to 150
go to x:0 y:0
forever
  set ghost effect to 20
  stamp
end- go to back layer ensures the trail-fader sits behind everything else.
- set ghost effect sets transparency so that stamps gradually disappear (trail fades).
This combination creates the stylish fading Scratch star trail effect seen in professional Scratch animations.
Step 5: Extra Polish With Hiding and Centering
To ensure the black backdrop sprite isn’t visible, use these:
when flag clicked
go to back layer
hide
set ghost effect to 20
forever
  stamp
end- hide ensures we don’t see the “stage-sized sprite”—only its trail effect.
- This completes step-by-step how to use pen extension in Scratch, with dramatic visual results.
Step 6: Enhancing Creativity + Performance Tips
Let’s boost creativity and performance:
Clone vs. Pen Trail
- Clone method: Use create clone of myself and delete this clone for fading afterimages
- Pen method (we use): Less lag, continuous smooth trails
Effects and Variations
- Use change ghost effect in the mouse-pointer script for gradual fading per stamp:
forever
  go to mouse-pointer
  stamp
  change ghost effect by 5
end- Or use clones to vary speed, size, or fade rates
- Experiment with point in direction, random movement, or costume switches for extra flai
Step 7: Turning the Animation into a Fun Game
You can easily transform this into a Scratch game. Here are some ideas:
- Avoid the Star Trail: Make a second sprite chase the user’s star; if touched, the game resets.
- Collect the Stars: Add collectible sprites that players gather by moving stars over them.
- Time Trials: Track how long users can keep the star alive without collision.
- Color Matching: Use color effects as obstacles—real time interaction between trail color and objects.
These ideas boost engagement and showcase how to make fun games in Scratch using your star trail base.
Need game ideas? Watch the video again for inspiration
Comparison: Clone vs. Pen Trail Revisited
| Method | How It Works | Pros | Cons |
|---|---|---|---|
| Pen method | Use stamp & ghost effect with black background | Smooth trails, less lag, easy to adjust | Details limited to size |
| Clone method | Create clones, fade via ghost effect | More control (size, movement per clone) | Can lag with many clones |
Both are essential Scratch techniques; this post focuses on efficient Scratch star animation using the Pen extension, but it’s great to explore both.
Final Thoughts + Next Steps
You’ve now successfully learned how to make fun games in Scratch, explored the Scratch pen extension, and created your very own Scratch shooting star animation. You not only built a Scratch project, but also understood foundational Scratch basics and block logic.
Expand:
- Try Scratch game variants.
- Explore other Scratch project ideas: fireworks, snow falls, magical spells.
- Dig into block programming logic: conditionals, variables, clones.
Most importantly, you’ve stepped into a world where Scratch coding meets creativity. Your star trail marks just the beginning of your journey—what will you code next?
Watch the video again here: https://www.youtube.com/watch?v=zWPHTdpBkp4
Template Checklist
- ✅ Delete default cat sprite
- ✅ Choose & size star sprite to 200
- ✅ Add Pen extension
- ✅ Clear stage with erase all
- ✅ Forever loop: go to mouse-pointer, stamp, change color
- ✅ Add background sprite for fading with ghost effect and stamp
- ✅ Hide background sprite
- ✅ Test performance and explore variations
Final Call to Action
Ready to captivate your audience with magical trails? Share this Scratch trail effect tutorial with others on YouTube, include it in your classroom, or make it your next blog post. And don’t forget: once you’ve mastered this, try adding interactivity like mouse clicks, obstacles, or scoring—transform it into a full-on Scratch game.
Your next step? Hit the green flag, click record, and start building your starry Scratch universe.
Call to Action
- Don’t forget to check out the full video tutorial by Kodex Academy here: Watch the full – How to Make a Star Trail Animation in Scratch | Easy Scratch Project Tutorial
- Like, comment & share the video
- Visit kodexacademy.com
- subscribe to the Kodex Academy YouTube channel for deeper Scratch content.
Happy coding with Kodex Academy! 🚀
Learn More with Kodex Academy
At Kodex Academy, we’re passionate about helping students learn coding in creative ways. This project teaches more than Scratch—it empowers young minds to build tools that work in the real world.
Explore more:
Stay updated with new content, free tutorials, and coding challenges!
- 🌐 Website: https://kodexacademy.com
- 🌐 Website: https://games.kodexacademy.com
- 💬 WhatsApp Channel: Join Now
- 💼 LinkedIn: Kodex Academy
- 📸 Instagram: @kodex_academy
- 𝕏 Twitter: @Kodex_Academy
- 📢 Telegram: Join Our Channel
- 🔗 Patreon: patreon.com/KodexAcademy
Further Reading & Links
- Scratch Wiki Motion Blocks: https://en.scratch-wiki.info/wiki/Motion_Blocks
- Scratch Programming for Beginners: https://scratch.mit.edu/projects/editor
- Scratch Animation Guide: https://en.scratch-wiki.info/wiki/Animating

