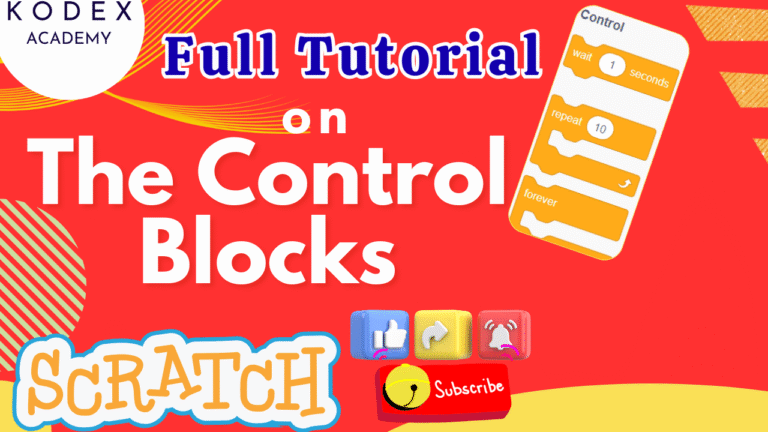
Introduction – Scratch Control Block Tutorial
Scratch is a fantastic programming language designed especially for beginners and kids to learn coding concepts through creative projects. One of the most important aspects of Scratch programming is understanding control blocks — the blocks that manage the flow of your program by controlling timing, repetition, decision-making, and cloning.
In this tutorial, we’ll explore all the key Scratch control blocks, including loops like forever and repeat until, conditional blocks such as if and if-else, as well as cloning blocks that help create dynamic games and animations. You’ll get live examples, step-by-step explanations, and tips on how to use these blocks effectively to build fun, interactive Scratch projects.
Whether you’re a beginner just starting or a parent or teacher guiding young learners, this guide will give you a solid foundation in Scratch control blocks to create your own animations, stories, and games.
Let’s dive in and unlock the power of Scratch control blocks!
Watch the complete video tutorial – Scratch Control Block Tutorial | Full Tutorial with Live Examples for Beginners by Kodex Academy
What are Scratch Control Blocks?
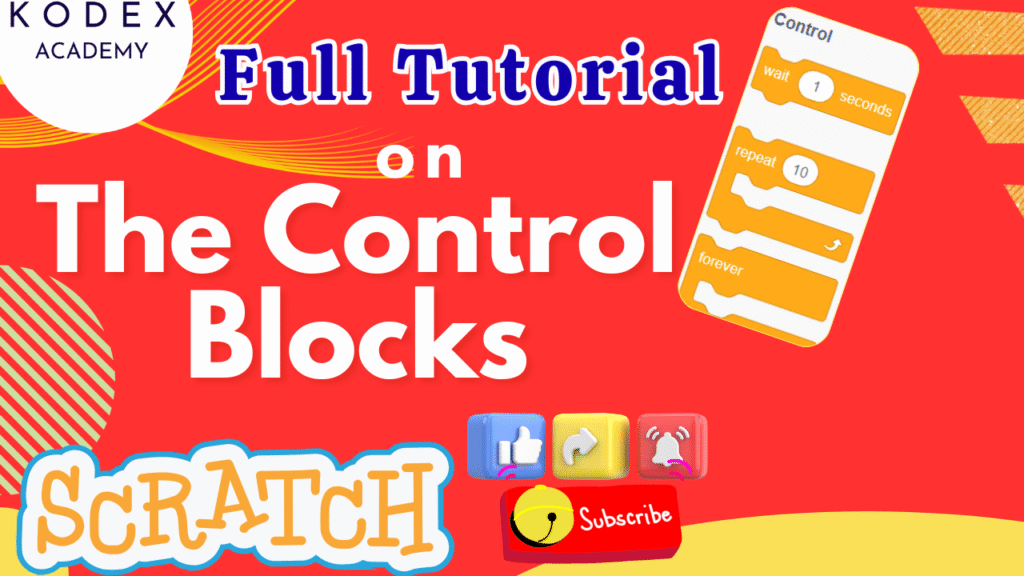
“Control blocks” in Scratch are those blocks (from the Control category) that manage the flow of your script: when things happen, how many times they happen, making decisions, repeating actions, timing pauses, stopping or creating clones, etc. These are essential when doing Scratch programming for beginners, because they let your sprites do more than just move: they allow logic, loops, and interactivity.
According to the Scratch Wiki, Scratch 3.0 has 11 control blocks: one hat block (when I start as a clone), five C‑blocks (loops & conditionals), three stack blocks (waits & clone creation), and two cap blocks (stop, delete clone). en.scratch-wiki.info
Some of the control blocks are:
wait (n) seconds— pause executionrepeat (n)— repeat a set number of timesforever— loop indefinitelyif <condition> thenif <condition> then elsewait until <condition>repeat until <condition>stop [this script / other scripts in sprite / all]create clone of …when I start as a clonedelete this clone
Key Control Blocks & Scenarios
Control blocks in Scratch determine how and when your code runs. They are essential for:
- Loops (repeating actions)
- Conditionals (making decisions)
- Timing (delays and waits)
- Cloning (creating multiple sprite instances)
- Stopping actions
Let’s explore each type of control block in Scratch, complete with real-world use cases, sample code, and enhancement ideas.
Watch this section on YouTube: Scratch Control Block Tutorial – Full Demo by Kodex Academy
| Block | What it Does | Example Use Case |
|---|---|---|
| Wait (n) seconds | Pauses script for n seconds before continuing | Display a message, wait, then change costume. Or in a game: wait 1 second before enemy appears. |
| Repeat (n) times | Loops the inside blocks n times | Walk 10 steps, play sound 5 times, spin 20° repeatedly. |
| Forever | Loop infinitely until script is stopped | Keep spinning, keep checking for key presses, continuously animate a sprite. |
| If then | Runs blocks only if condition is true | If score ≥ 50, show “You Win”. |
| If then else | One path if true, another if false | If touching a border → bounce, else keep going. |
| Wait Until | Pause until condition becomes true | Wait for score ≥ 50; or wait until touching color or a sprite. |
| Repeat Until | Repeat loop until the condition becomes true | Repeat move 10 steps until at edge. |
| Stop [script / other scripts / all] | Stops specific or all scripts | End the game, stop animations when win condition met. |
| Create Clone of (sprite) | Generates duplicates of a sprite | Create many falling objects in a game. |
| When I Start as a Clone | This hat block runs when a clone starts | Each clone might move, change costume, or behave differently. |
| Delete This Clone | Deletes the clone to avoid clutter | Remove clones when they reach edge or are no longer needed. |
1. Wait (1) Seconds
Purpose:
Pauses the script for the specified number of seconds.
Scenario:
You want your sprite to say “Hello”, wait for a moment, then say “Bye”.
Sample Code:
when green flag clicked
say "Hello" for 2 seconds
wait 1 seconds
say "Bye" for 2 seconds
Enhancement:
Add background music or animation between dialogues for engagement.
2. Repeat (10)
Purpose:
Repeats the inner code a specific number of times.
Scenario:
Rotate a sprite 15° ten times to make a full spin.
Sample Code:
when green flag clicked
repeat 10
    turn clockwise 15 degrees
Enhancement:
Make the repeat count dynamic using a variable (e.g., spinCount).
3. Forever
Purpose:
Executes code inside the loop continuously until the program stops.
Scenario:
Continuously check if a key is pressed and move the sprite.
Sample Code:
when green flag clicked
forever
    if <key (right arrow) pressed?>
        move 10 steps
Enhancement:
Add sound feedback when a key is pressed.
4. If <condition> Then
Purpose:
Executes the blocks only if the condition is true.
Scenario:
Display a message when the score is above 50.
Sample Code:
when green flag clicked
if <(score) > 50>
    say "You Win!"
5. If <condition> Then Else
Purpose:
Allows decision-making with two paths: true and false.
Scenario:
Show “You Win!” or “You Lose!” depending on the score.
Sample Code:
when green flag clicked
if <(score) > 50>
    say "You Win!"
else
    say "You Lose!"
6. Wait Until <condition>
Purpose:
Pauses the script until a condition becomes true.
Scenario:
Wait until the player reaches the red line before saying “Stop!”.
Sample Code:
when green flag clicked
wait until <touching color [#FF0000]>
say "Stop!"
Enhancement:
Add an animation or countdown while waiting.
7. Repeat Until <condition>
Purpose:
Keeps repeating an action until a condition becomes true.
Scenario:
Keep moving the sprite until it touches the edge.
Sample Code:
when green flag clicked
repeat until <touching edge>
    move 10 steps
8. Stop [all / this script / other scripts in sprite]
Purpose:
Stops parts or all of your project.
Scenario:
Stop the game when health drops to 0.
Sample Code:
when green flag clicked
forever
    if <(health) = 0>
        stop all
9. Create Clone of [myself / sprite]
Purpose:
Creates a duplicate (clone) of a sprite that can act independently.
Scenario:
Shoot bullets by cloning a bullet sprite when the space bar is pressed.
Sample Code:
when [space] key pressed
create clone of [myself]
10. When I Start as a Clone
Purpose:
Runs a script when a clone is created.
Scenario:
Make cloned bullets move forward.
Sample Code:
when I start as a clone
repeat until <touching edge>
    move 10 steps
delete this clone
11. Delete This Clone
Purpose:
Deletes the clone once its purpose is complete.
Scenario:
Remove bullets once they leave the screen.
Combined Example:
when I start as a clone
repeat until <touching edge>
    move 10 steps
delete this clone
Practical Project Idea: Space Shooter Game for Kids
Combine these blocks to make a game where:
- The player sprite shoots bullets (using cloning).
- Enemies spawn from the top (also clones).
- Player score increases when bullets hit enemies.
- Game ends (Stop block) when health is 0.
Watch a step-by-step demo in the video: Click here to watch on YouTube
Enhancement Features with Code
1. Add Difficulty Over Time
when green flag clicked
set [enemySpeed v] to 1
forever
    wait 10 seconds
    change [enemySpeed v] by 1
2. Flash Screen When Game Over
if <(health) = 0>
    repeat 10
        set [background color v] effect to 100
        wait 0.1 seconds
        set [background color v] effect to 0
        wait 0.1 seconds
    stop all
3. Use Variables for Flexible Loops
when green flag clicked
set [loopTimes v] to 5
repeat (loopTimes)
    move 10 steps
Conclusion
Understanding and using Scratch control blocks is a vital step in becoming a confident and creative programmer—especially for beginners and young coders. From simple delays and repeats to more advanced logic like conditions, loops, and sprite cloning, these blocks form the core of game development and interactive storytelling in Scratch.
In this tutorial, you’ve explored:
- How to repeat actions using loops (
repeat,forever) - How to use decision-making blocks like
if,if else - How to manage timing with
waitandwait until - How to build advanced features using cloning and stopping scripts
Whether you’re building a fun animation, a storytelling project, or a full Scratch game, control blocks give you the power to manage logic, timing, and interaction like a pro.
Call to Action
- Don’t forget to check out the full video tutorial: Scratch Control Block Tutorial | Full Tutorial with Live Examples for Beginners by Kodex Academy
- Like, comment & share the video
- Visit kodexacademy.com
- subscribe to the Kodex Academy YouTube channel for deeper Scratch content.
Happy coding with Kodex Academy! 🚀
Learn More with Kodex Academy
At Kodex Academy, we’re passionate about helping students learn coding in creative ways. This project teaches more than Scratch—it empowers young minds to build tools that work in the real world.
Explore more:
Stay updated with new content, free tutorials, and coding challenges!
- 🌐 Website: https://kodexacademy.com
- 🌐 Website: https://games.kodexacademy.com
- 💬 WhatsApp Channel: Join Now
- 💼 LinkedIn: Kodex Academy
- 📸 Instagram: @kodex_academy
- 𝕏 Twitter: @Kodex_Academy
- 📢 Telegram: Join Our Channel
- 🔗 Patreon: patreon.com/KodexAcademy
Further Reading & Links
- Scratch Wiki Motion Blocks: https://en.scratch-wiki.info/wiki/Motion_Blocks
- Scratch Programming for Beginners: https://scratch.mit.edu/projects/editor
- Scratch Animation Guide: https://en.scratch-wiki.info/wiki/Animating

